
Beginning of Rainbow Sunprint Redo with Inktense Pencils
It took a while after getting home from the quilt retreat to get back to a little creating and playing again… It comes mostly in little bits of time, but I am finding some of the old creativity slowly starting to return… little bit by little bit, now in week 9 of treating my Lyme… It’s still frustrating when I get started with a little creative project and another “brain blank” hits with everything screeching to a halt, but I have so much more hope now that things will continue to improve…
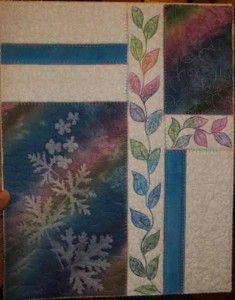
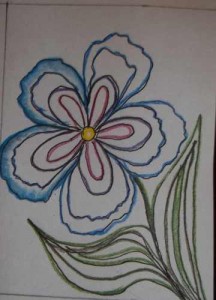
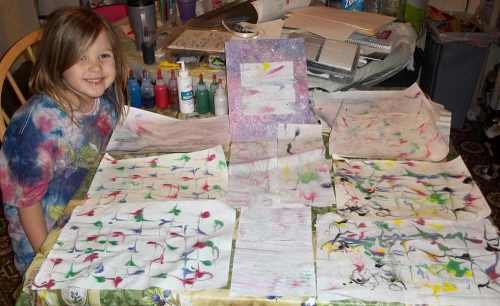
The right photo shows one project that is still in the works… During the quilting retreat, the decision was made to add color to the quilted leaves in the white spaces that seemed to take over. The first thought was green like I had done in the border of the Pulsatilla Sunprint redo in my “Good Therapy” post (just scroll to see the piece if you want to check it out). There isn’t as much green in this piece, so I thought that might look odd… Since the sunprint is done in a rainbow of colors, I decided that trying to do the leaves to try to match up with them. There are still three white sections left, but it is a start!

Doodles Page 2
One thing I have been doing to keep playing in little bits of time is to keep a sketchbook nearby with pens and my Inktense Pencils. I found that by dividing the pages into art card sized sections leaves smaller areas to work in that aren’t as intimidating as a full blank page. I originally wanted to try to get at least one section filled each day, but that doesn’t always happen, then I might end up filling in a full page on another day… I never seem to know when or what will pop out at any one time… Just getting anything done has been great.
Page One of Drawings Outlined with Inktense
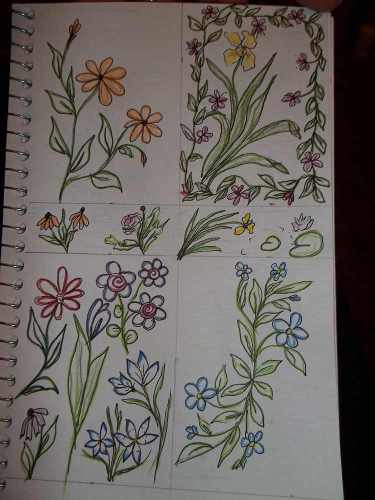
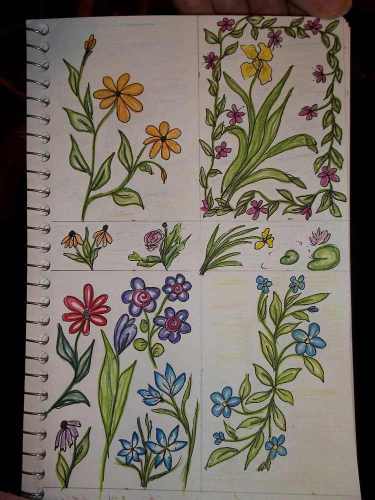
The above page was the first one I began with. I have been doing the drawings with a black gel ink pen. Something quite different from anything I have done in the past… I rarely ever drew much, my quilts just seemed to “happen” with the fabric, thread and free flowing ideas. Maybe it will happen like that again, but for now, it’s good to be doing anything creative… Once I get a bunch of drawings done, or am just ready to play with color, I break out my Derwent Inktense Watercolor Pencils. They are so nice to work with to add color to my drawings. All I need are the pencils and my blender pen. No water or brushes for watercolor effects. The page above shows the drawings outlined with pencil before any water was added. Below is what things look like after using my blender pen. The colors intensify and the pencil becomes a blend-able ink that becomes permanent when it dries. The color from the outlines can be pulled inside the drawing areas to give shaded results.
Drawings with Pencil Blended
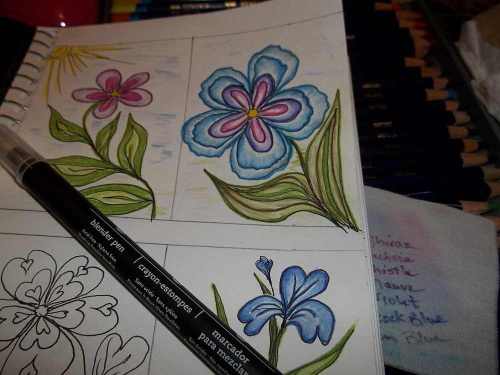
The Inktense pencil colors change quite a bit from their dry state when water is added. When I first got my set of pencils, I made up a “cheat sheet” with all the names of the colors written on fabric, then dampened with water to let me know what the final colors will look like. It helps me choose just the right colors. You can see it in the photo below, under page 2 of doodles with most colored in. I played with shading in the large flower to see how far I could pull color from just an outline. The photo also shows the blender pen I use. It works well on paper or fabric.
Colored Drawings with Pencils and Blender Pen
Large Flower Drawing Outlined, Beginning the Blending.
The blender pen is perfect for working with details. the tips on each end of it deliver just enough water. Also, if it dries out, I just soak it in water for a while and it’s ready to use again.
The photo, right, shows the large flower above as I was beginning to blend the colors in from the outlines.
I have also been trying out some new things with the grandkids after school. A fun way to pass the time… Keeping art supplies by the kitchen table makes it easy for everyone to play. Most recently, I found some raspberry scented shaving cream at the dollar store, and also picked up a new cookie sheet for playing with shaving cream printing.
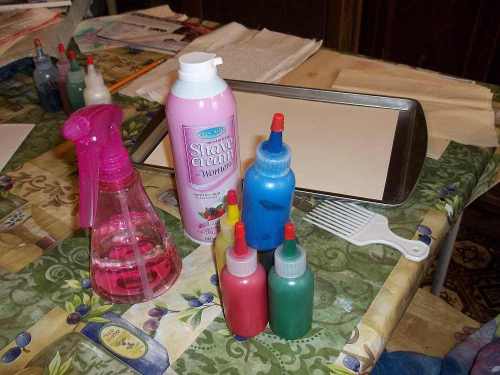
Supplies ready for play…
Jenna and I had lots of fun…
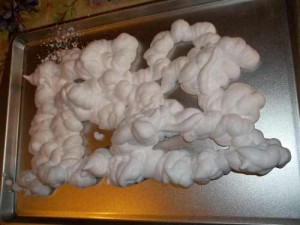
Shaving cream on tray
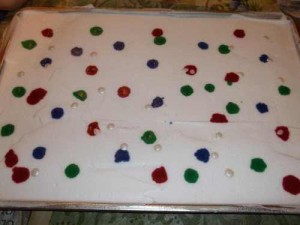
Paint drops after cream was leveled.
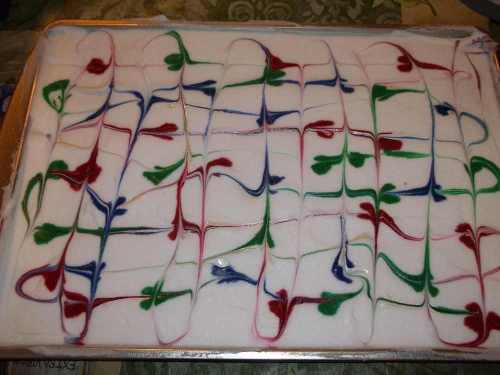
Paint drops swirled on top of the shaving cream.
We used a craft stick to swirl the paint, then it was ready for placing fabric or paper on it.
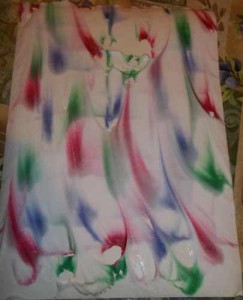
First Pull… Cotton Fabric
This photo, right, shows the first print we ended up with. We started with a piece of cotton fabric, pressing it gently into the surface of the shaving cream, then carefully pulling it off…
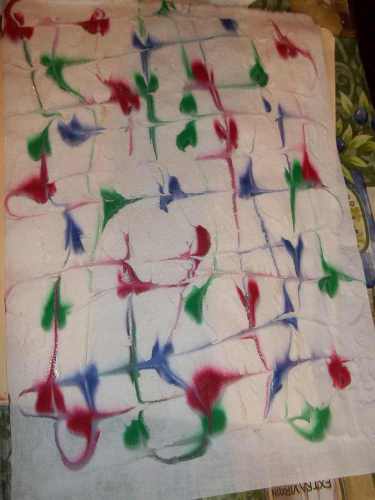
Paper One just after pulling.

Paper One with foam mostly scraped off.
The paper we tried next, held a lot more of the shaving cream as it was pulled off. Once the foam was scraped off, the design was revealed. If we had left the foam on, the design would have looked quite different.
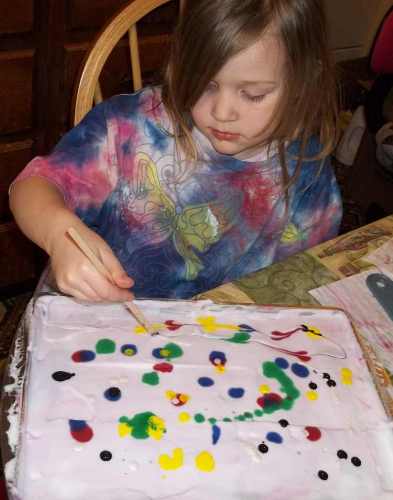
Jenna Swirling Paint
Jenna got right into the fun, dripping and swirling the paint on the top of the shaving cream.
A Great Night’s Work… Jenna posing with our results.
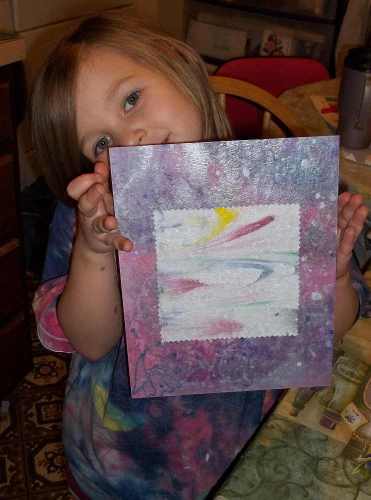
Finished Artwork
Jenna really liked the the square of fabric above, so I fused a piece of painted and stamped paper I made in January to a piece of mat board, then fused the square in the center after pinking the edges… A finished work of art we made together that she can hang on her bedroom wall… A fun night of playing and creating!
This is being linked to Nina Marie’s Off the Wall Friday’s
I am a former textile artist and new pattern designer with a degree in horticulture, wishing to share my love of nature, flowers and gardens with everyone through my photos, sunprinted fabrics, and now pattern designs. Chronic Lyme Disease has caused major changes to the direction my life. I have to limit the amount of time spent digging in my gardens, and quilting has become more difficult. I discovered pattern design as a way to get art back into my life. I now use my gardens and photos to inspire designs that can be used on fabrics and print on demand items.


