
Here it is, a mini tutorial showing how I sunprinted fabrics indoors last week. I usually paint and print outdoors, but here in NE PA, the number of good days are limited, and if I run out, or need a different fabric, I am stuck having to wait till warm weather.
Even though it is called sunprinting, the sun is not what causes the print to form. There are heliographic paints that react to the sun, but I print using acrylic textile paints. Any good quality paint for fabric will work. I have had great results with Setacolor®, Versatex®, and now use mostly Jacquard® brand paints. The prints are a result of the drying process, and placing the fabric in the sun is the cheapest method of drying it quickly. In my new setup, I have a germination chamber that was used in our greenhouses for starting seeds indoors. It has shelves with flourescent lights, that light and warm whatever is placed on the shelf.
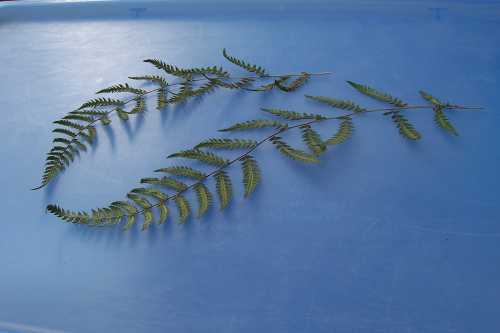
Crispy Ferns
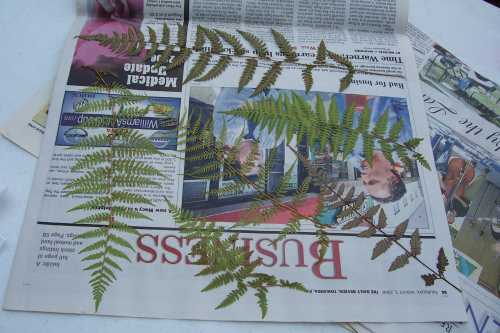
Pressed ferns
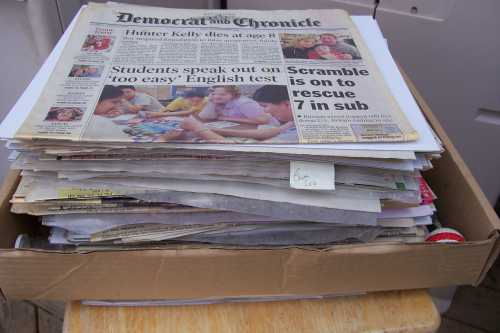
Stacked Papers
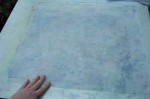
Paint Board
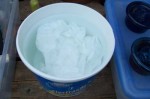
Fabric in Bucket
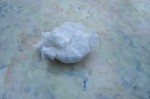
Fabric Ball
Smoothed Fabric
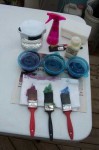
Painting Supplies
Here, above, are some pictures in sequence, of my paint board, fabric to be used, and paints ready to use. My paint boards are 1/4″ plywood covered with heavy vinyl, and as you can see, I don’t always clean up extra paint between sessions (it does clean up great with a little sudsy water and a plastic “scrubby”, when needed). The remaining paint is dry, and usually doesn’t transfer to the new piece of fabric. My boards are sized to handle fat quarters, or slightly larger pieces of fabric. I start with wet fabric, dunking it into a bucket of water, wring it out somewhat, and then smooth it out onto the board. This way, my printing items can have good contact with the fabric (also, if working in an outdoor breeze, the fabric “sticks” to the board until it is dry). The final photo is a set-up with my paints ready to use. I mix my own base colors, and work with my paints watered down to about the consistency of heavy cream- the color will be lighter, the more water you add, and I like soft, calming colors. I have been using plastic food containers with “leak-proof” lids, with great results- I can keep mixed paint in these containers for months, and if the lids are on, they usually don’t leak when tipped over. I also have a mist bottle for water, inexpensive brushes, baby wipes for hand cleaning (if there is no sink nearby), a rinse container, and a bottle of “Super Sparkle” paint by Jacquard®- to add shimmer if I want.
Paint On Fabric
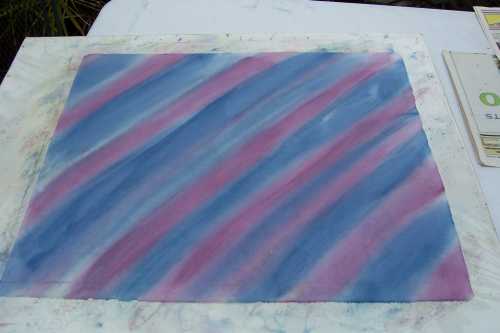
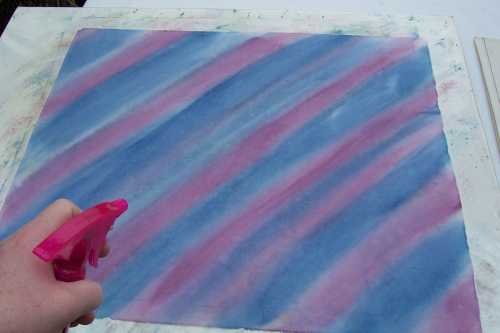
Now the fun begins…..I apply the paint to the fabric. I like to see what happens when I overlap colors, so I work quickly, and sometimes it looks like I am slopping it on. If I want some sparkle, I add a metallic, pearl, or the super sparkle to the paint, or over-paint areas with it, depending upon the effect I am looking for.
Spritzing with Water
To keep the paint wet longer, and to help colors run more, I spritz with water. You don’t want to get things too sloppy, or the color will weaken more than you want.
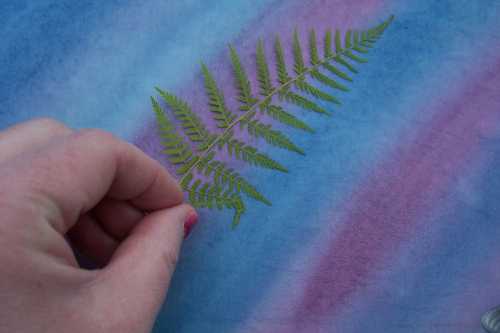
Placing Fern
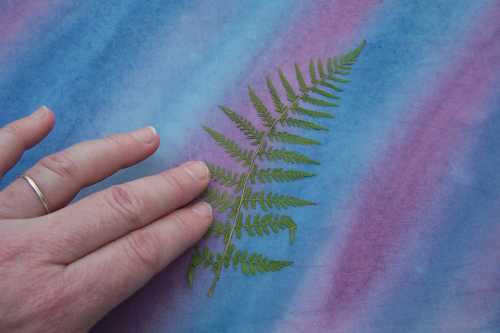
Patting Fern
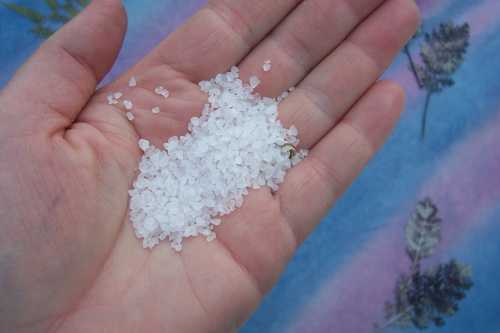
Sea Salt
Salt on Fabric
When adding salt to sunprints, keep it between the items to be printed, not on them unless you want to soften areas of the prints.
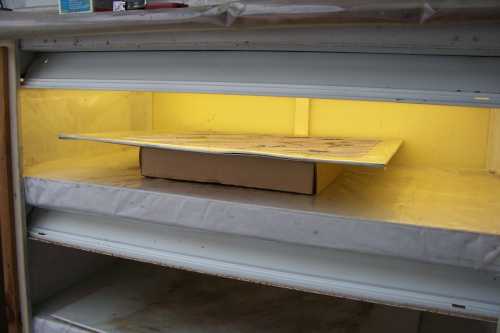
Fabric Under Lights
When everything has been added to the fabric, it is placed under the lights. The board with the fabric needs to be quite close to the lights to take full advantage of the warming of the bulbs to speed drying. the day I did this, the temp of my room was quite cool, so drying was slower that I wanted, so I placed the board on the floor near the heat outlet of the furnace there to speed things up- I didn’t have patience.
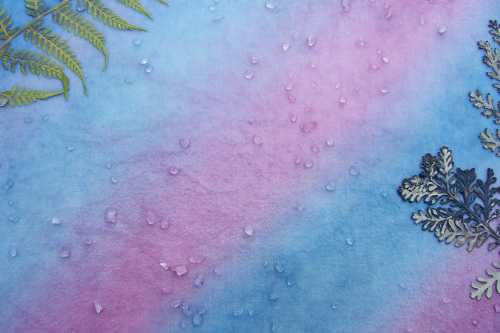
Salt Patterning
The furnace is one where the heat blows out of the bottom, and I placed the board so it got a gentle warm breeze from it. It worked great! This picture shows the salt pulling the paint into neat patterns. Too direct a blast of air would blow things off the fabric.
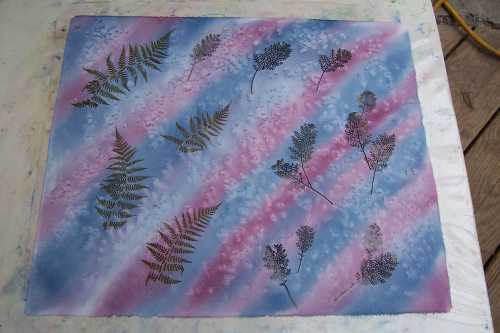
Revealing Prints
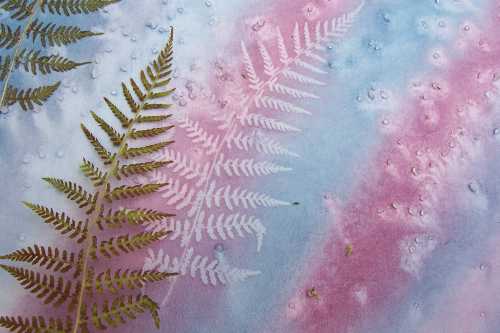
Here is the dry fabric, showing the result after the fern was removed. If they are removed before “crispy” dry, they can be reused (I put them back in the newspapers). If too dry, the ferns tend to stick, and break apart. This is where playing comes in. If the fabric is too damp, the prints may not have formed well.
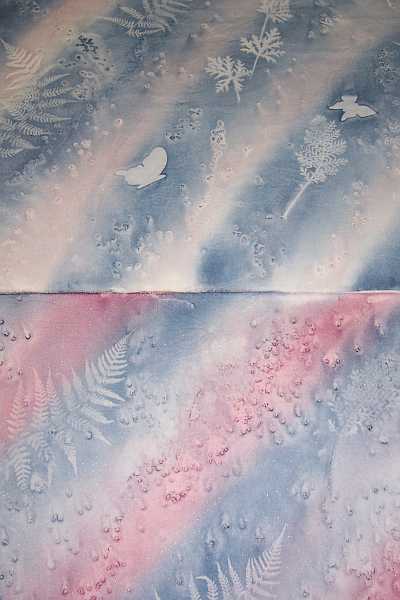
Finished Fabrics
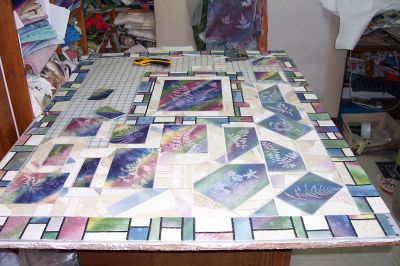
Puzzle in Progress
This is my WIP. The outer border and inner border around the large sunprint, are pieces of my painted fabrics, and various ivories stitched with black thread to resemble stained glass. The piece is “growing” from the lower right to upper left. It covers my whole 3’x4′ cutting table. There are many sunprints being used. I am planning to see what different ideas I can come up with to use my sunprints in different ways.
To see what I have already done with sunprints, check out my larger Sunprint Quilts, or Sunprint Mini Quilts, Galleries on my website. Website- www.AndrusGardensQuilts.com
More finished quilts and items for sale using sunprinted fabric are available from my two shops on Artfire:
Fabric and Quilted Gift Item Studio- Andrus Gardens on Artfire
Art Quilts Studio- Andrus Gardens Quilts on Artfire
I am a former textile artist and new pattern designer with a degree in horticulture, wishing to share my love of nature, flowers and gardens with everyone through my photos, sunprinted fabrics, and now pattern designs. Chronic Lyme Disease has caused major changes to the direction my life. I have to limit the amount of time spent digging in my gardens, and quilting has become more difficult. I discovered pattern design as a way to get art back into my life. I now use my gardens and photos to inspire designs that can be used on fabrics and print on demand items.


I adore sunprinting too and have discovered most paints will work. I love to do it in the summer when I can be outside. Your indoor set up is very cool!
Very impressive set-up! I love sunprinting too, but do it on a very small scale compared to you. Love the little butterflies.
Have you ever tried drying the “sunprint” in a very low oven?
This was so helpful, I have played with it and use them for backgrounds. I use hand dyed fabric to start with..the indoor set up I can do..