
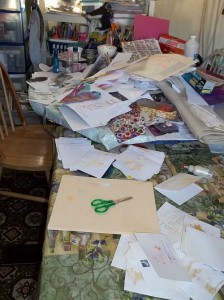
The kitchen art tables have been getting lots of use.
Nearing the end of February, I have had a few days here and there I didn’t do much artful play practice. Some of those days I did help the grandkids to play with art, so I guess that would count for my play too… The kitchen tables have remained pretty piled with projects in progress that get worked on while I watch Andrue and Jenna after school. There have been a few really messy days with a certain little girl splashing herself with paint or glimmer spray puddles nearly hitting the floor, but it has been a great way to keep busy kids occupied, especially on the crash days when I am the “couch grammy”…

Pulsatilla Sunprint Renovation
One thing I have been playing with, is updating or renovating some of my least interesting sunprint mini art quilts. I used to sell gobs of these when I sold at shows, but still have a huge inventory on hand (see my Mega Art Quilt Sale post to see what I am selling at a big discount to reduce inventory and earn funds for my Lyme disease treatments). The photo here, shows one piece where I have used my Inktense pencils to outline and color in the quilting in the border of the piece. This one still looks like this since I am not sure where to go next. I am not sure I want to go quite as far as I did with the next one…
The other piece I have been working on got a bit out of hand…

Lobelia Sunprint Renovation- 2
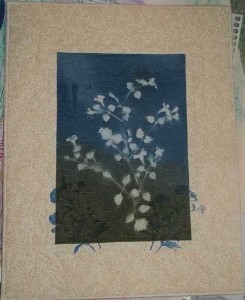
Lobelia Sunprint Renovation- 1
The Lobelia Sunprint piece didn’t get it’s first photo taken till I had already added a couple of stamped images. I began with Queen Ann’s Lace images stamped in a shade of blue that is similar to the paint on the piece.
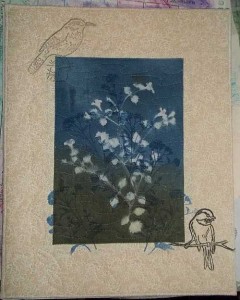
Lobelia Sunprint Renovation- 3
After adding the blue images, I decided to play with a couple of bird stamps I had. I used a new black ink on the upper bird and a Versafine ink pad that I got as part of my Christmas splurge. After adding the bird stamps, I colored them in with Inktense pencils. Next, I began outlining the quilting in the border of the piece with green Inktense pencil and lightly added color to the leaves. This helped to tie the birds into the piece a bit better, but the border seemed to call for more… Looking back, I might have better stopped here, but I AM PLAYING, right??
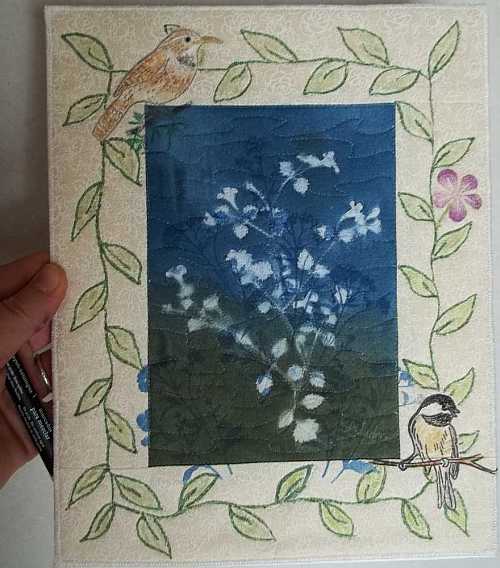
Lobelia Sunprint Renovation- 4
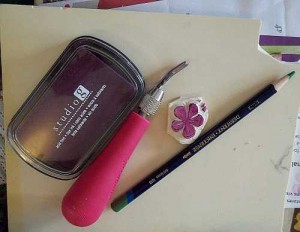
Hand Cut Flower Stamp
I pulled out a piece of Speedy Cut (I think that is what it is called…) to cut a flower stamp. I was pleased that it turned out nicely. The #4 version above, shows one flower stamped on… If one looks OK, then more will look Better, right??? Well…. Not sure, but the next photo shows what it now looks like after cutting another stamp for a bud…
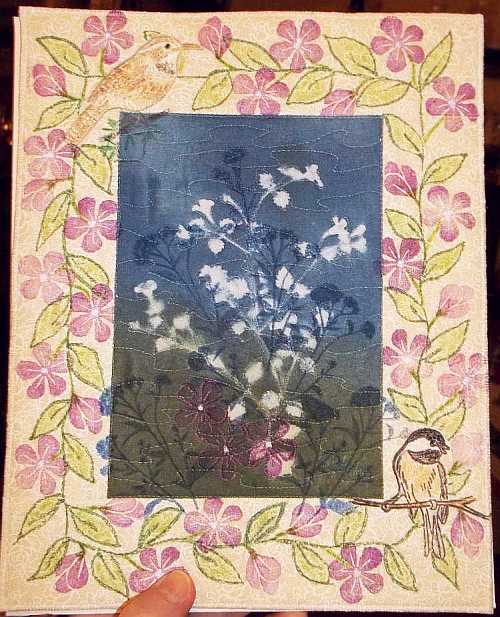
Lobelia Sunprint Renovation-5
I think I went a bit overboard with this… I got a bit carried away playing with my new stamps… Now it looks cluttered and the border seems to look more “disjointed” (the only word my brain will come up with right now) from the central sunprint. I added white centers to the flowers using a correction pen, and the few flowers in the sunprint section nearly hide, but the centers really shine… I even played with a glaze pen over the blue inked images to deepen the color.
I can’t make things any worse, so some over-stamping with some white paint and one of my large stamps all over, or maybe some of the blue in the border, hmmmm….. I guess this one will be good to play with, without worrying about ruining it, but then, learning to play without thinking about the final product being perfect, or even “just good” is my goal here. Randomly stamping, doodling, or even cutting stamps are great ways to help out on those days when sitting upright is a challenge (well, cutting stamps are better done on non-shaky days), and I really need something to take my mind off how I am feeling… Doodling on paper has already helped on some days when my current treatments make me feel like I’ve been hit by a couple trains…
I am a former textile artist and new pattern designer with a degree in horticulture, wishing to share my love of nature, flowers and gardens with everyone through my photos, sunprinted fabrics, and now pattern designs. Chronic Lyme Disease has caused major changes to the direction my life. I have to limit the amount of time spent digging in my gardens, and quilting has become more difficult. I discovered pattern design as a way to get art back into my life. I now use my gardens and photos to inspire designs that can be used on fabrics and print on demand items.


