As promised, here is part 2 of my experimenting with Derwent Pencils New Inktense Blocks. In the previous post, I showed a Delphinium flower stem colored with the blocks.
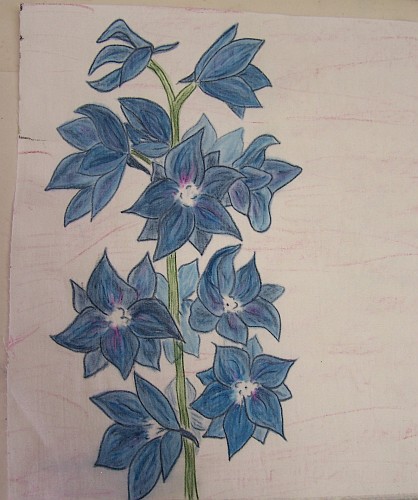
This is the Delphinium on white cotton fabric after it finished drying. The color lightened a tiny bit, but is still nice and bright.
Before I played with the blocks on fabric, I did a little on a sketchbook page. The photo above shows a few Delphinium florets that I began with. The upper right and middle fully open florets were done completely with the Inktense Pencils. The other florets were outlined with the pencil, then the blocks were used to fill in the petals with the color. I used the same Deep Indigo and Sea Blue with tiny touches of Fuchsia. I added all the colors dry, then dampened with my blender pen. There is not much difference, but the florets done only in pencil show more “sketchy lines”. You can see the direction I drew on with the blocks and used the blender pen, but there aren’t the distinctive pencil lines. (A more experienced pencil artist could probably get a less “sketchy” look with the pencils, but the blocks made things very easy for a relative beginner like me.) You might be able to just see the faint, still dry Fuchsia color I added to the background by using a long side of the block with very little pressure. I was doing an experiment before doing the background on the fabric piece.
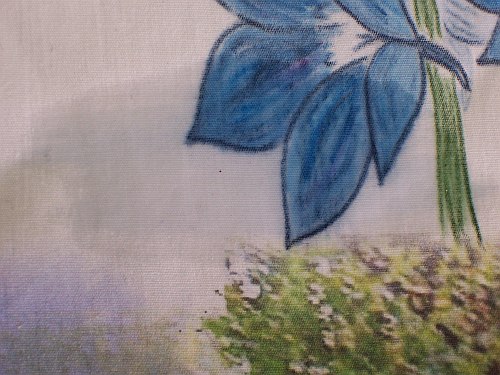
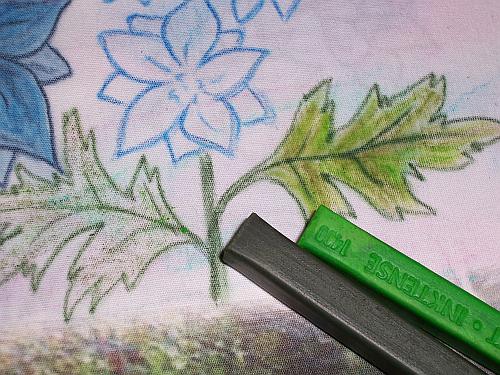
The next experiment I did was over part of the drawing on the fabric. I wanted to do a wash of color for the background, so I added some plain water with a brush over a small section to see what would happen. With fabric, colors will run very easily. There was very little bleeding of the blue into the white background, and all I did with the pencil and blocks was to wet it with the blender pen. (Just ignore that funky green below the flower, the fabric was a “printing failure”… the paper backed fabric jammed in my printer, leaving just a strip of the image and a few black streaks here and there along the sides. Mistakes on fabric are just opportunities to do something else with it.)
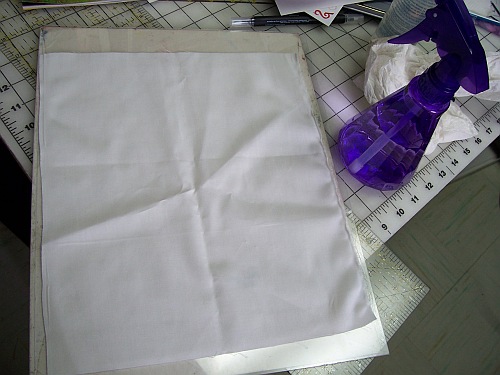
While the test area dried on the first fabric piece, I decided to play with another piece of fabric… Here is the white cotton I began with.
The fabric sprayed with water and smoothed onto an acrylic sheet to begin like I would when painting my fabrics with acrylic paint.
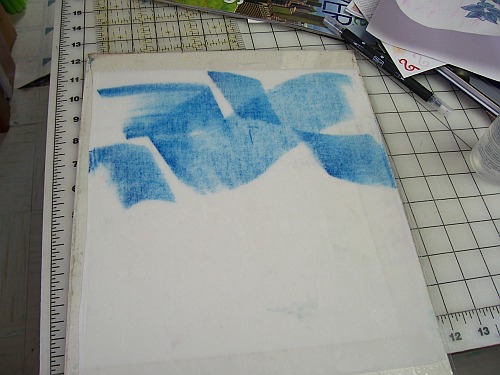
The Sea Blue block rubbed over the wet fabric…. I had a sky of sorts in mind….
I then did some passes with the Fuchsia block and more of the Sea Blue, hoping to end up with some lavenders when the colors mixed. I added the greens available in the 12 block tin to see if I could get some mountains….. None of the greens are near what I usually use, so some over-mixing will be needed. This is a “guinea pig” anyway, so a perfect place to play….
Above is what the piece looked like after I used a very wet half inch brush over the Inktense colors. There is also a nice brown in the set that I used in some of the lower edge areas. By mixing the Apple Green and Leaf Green in different ways, I got colors more to my liking. I think I also added Apple Green over some of the Teal Green that in the beginning really looked out of place.
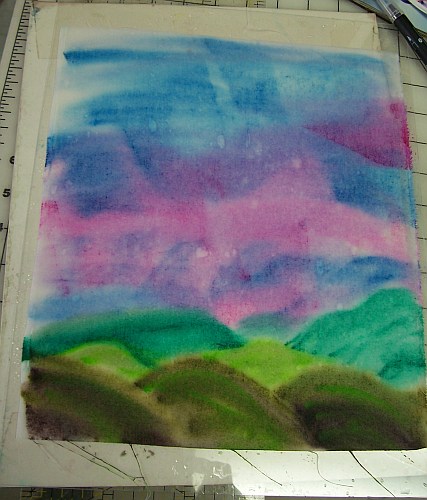
Here is what I ended up with after a bit more blending and adding a tiny bit of the Sun Yellow to the horizon. I did a bit too much blending in some areas and started making “mud”, but like with the paints I usually use, I never know what the dry end result will be…..
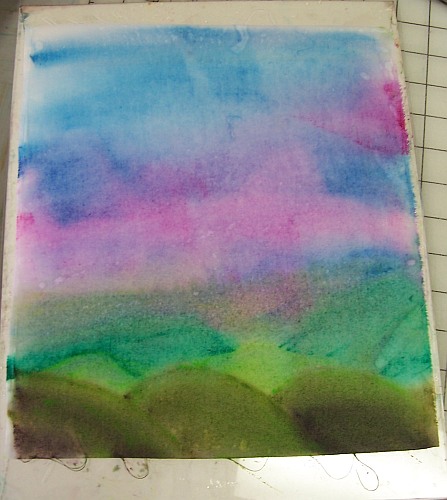
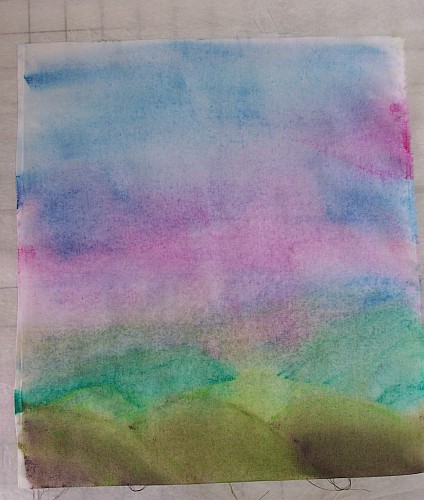 This morning, this is what the dried fabric looks like. The areas that were too bright dulled down a bit, and I like the look better. I am not sure if this will become a finished piece in it’s entirety, but if not, it will work nicely for part of a book cover or something else. I LOVE how easy it was to do this…. I didn’t need to pull out my paints and brushes that I haven’t had out in a while. All I needed was the fabric, acrylic sheet, Inktense Blocks, a spray bottle, little cup and a brush. Very little clean-up needed. This will be super for coloring up small pieces of fabric needed for various projects.
Back to the Delphinium piece…. The test area dried with next to no bleeding, so the next step was to add a light bit of the Fuchsia block used on it’s side. I only wanted a wash of color,so kept the pressure on the block very light. You can see a couple of streaks at odd angles due to some extra “stuff” under the fabric that was on my work table…. A clear table is hard to keep in my studio.
This photo above, shows the top half of the piece after I brushed over it with a sloppy wet brush. I had to take the paper backing off the fabric because the paper was curling badly…. another lesson learned…. The pink color was very light, except where a corner of the block rubbed harder, or whatever was underneath caused a deeper streak. The water was brushed over everything, even the previously colored flowers.
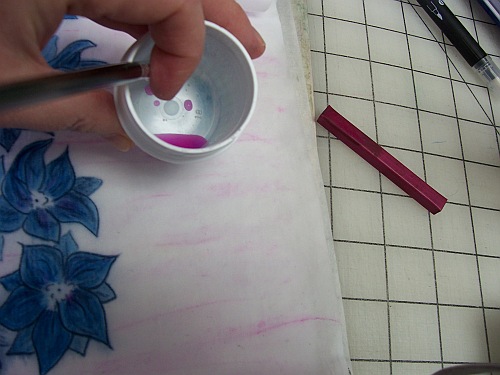
I wanted a little more color, so I used my brush on the block of Fuchsia to pull color into my little cup with a little water to make some liquid color to add here and there.
Here is the piece with a little bit of Sea Blue and Teal Green added to give more interest to the background. This photo was taken before I did more wet brushing over the new colors.
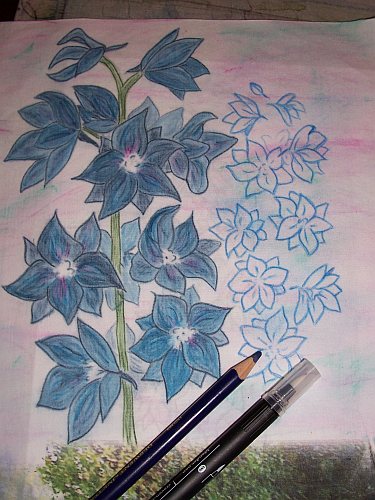
This photo above shows the fabric dry again, you can see how there is just a bit of mottled color for the background. I decided to add another flower stem next to the first one. This one is going to be lighter, using mostly Bright Blue. I began as with the first one with the pencil for the outlines.
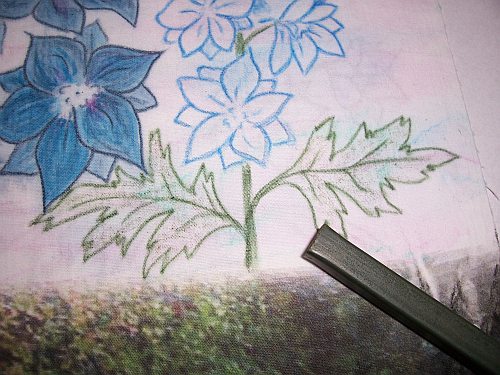
I drew in the leaves using my Ionian Green Inktense Pencil for the outlines, and filled in with the Apple Green and Leaf Green blocks mixed to get the shade I wanted. The photo above shows the leaves still dry.
This photo above shows how the colors change with the addition of water. The right leaf has been partially gone over with the blender pen. With a bit of “scrubbing” with the pen, I was able to blend the two shades of green blocks.
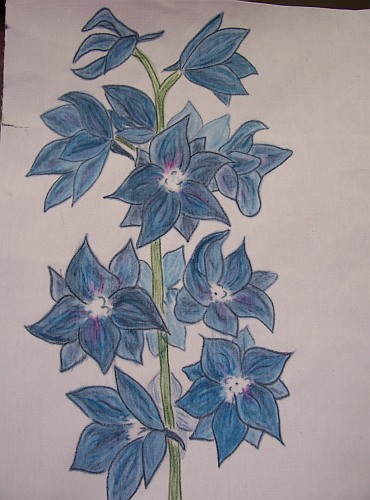
This photo shows the new flower stem after the petals were filled in with color and dampened. I mixed a little of the Deep Indigo with the Sea Blue and tiny touches of Fuchsia on the petals while the pencil was dry.
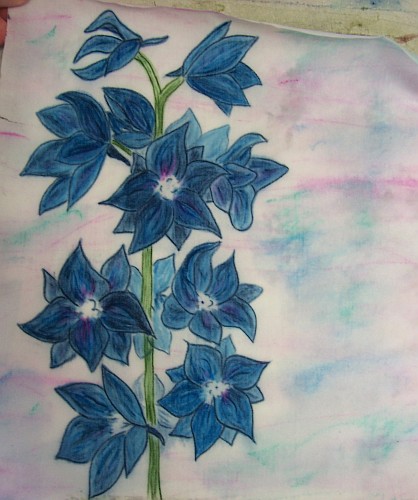
Ta-Daaa! Here is the piece fully dry this morning. This is destined to be chopped up into ATC’s for my exchange group. I was amazed how little color bleeding I got from the deep blue flowers when I brushed the water over them to do the background. I did blot a couple of spots, and found a few areas that some of the color transferred to my paper towel, but most of the previously dampened and dried color stayed in place. I will probably play with covering the fabric with different acrylic mediums to see what happens. I love to play with the pearlescent, and wonder what a little gloss over the top will do…. More play time needed 🙂
Hopefully I will have another update tomorrow or the day after…. An errand running afternoon is ahead, so I have no idea what the body is going to do when I get back home.









Sue – This is so inspiring! I can hardly wait to get some blocks in hand.
Julia
Sue – I have been using the Inktense pencils, but the blocks are exactly what I’ve been waiting for. Any idea where they can be purchased (or ordered from) in the US? ps – love your delphiniums!
Am thoroughly enjoying your ‘play time’ posts. I too have played some with the pencils but the blocks are new to me and very interesting. Thanks for posting all this info.
Ruth
Just delightful! I have to get some of the blocks…I love the pencils.
From what I read on the Derwent Pencils Facebook page, the Inktense Blocks will be available in the US sometime in April…. Definitely worth the wait! So lucky I didn’t have to wait 🙂
Really enjoying your playing with Inktense blocks – purchased the pencils at Christmas and have just started exploring what they can do. Thanks for the info.
I purchased the pencils about 6 months ago. Have only used them off and on but when I wet the fabric with a small brush it spread too much. Your use of a blending pen put me to thinking, I have Fantastic brushes and tried them today to see how they would work. They work great. Now I don’t have to book a Stampin’ Up party to buy the pens. Your playing with the pencils and blocks has put my mind to thinking. Keep on playing!!
I really like seeing what you are doing with your experiments. I’ve used the pencils on fabric for a couple of years now and love them. I know what you mean by the sketch marks too.
I recently purchased a used copy of the book “Creative Colored Pencil Workshop” via amazon.com. I highly recommend it…wish I had it from the beginning of my pencil art creative attempts. They use several type colored pencils including Inktense and cover how to color/shade/blend/burnish and lots more to help get the best results.
The book includes 52 excercises for combining colored pencils with your favorite mediums. I just love it and I’m only about quarter of the way through it. Learning a lot of easy ways to make the pencils work as I want them to work. I’ve drawn several portaits with Inktense in the past and had to learn the hard way how to control the look to some extent. I’m learning a lot and just wish I had it a long time ago.