The first post of the new year…. now that we are nearly 2 weeks into it…. I have actually finished a few little quilts in addition to my latest set of art cards for the “Arts in the Cards” group. Each month a new theme is chosen as a guide for the cards we send out to each other. I have only been a member of the group a year or so, but this month is the second anniversary of the creation of the group, so the theme was Two.
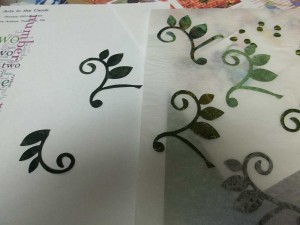
The above photo shows one of the inspirations for my cards. Actually, I had originally thought that I would do a tiny quilt with a pair of Tulips blooming on it… Two Tulips, but while experimenting with a new die cutting machine, I happened to notice that some of the vine and leaf die cut pieces looked like they could be twos, and another idea began to form. I then thought about “two peas in a pod”…. another idea (see little “peas” upper right in the photo above)…. THEN came the Google results…. I found that the traditional gift for a second anniversary is cotton (ok, cotton Tulips would work), then I found that there was a flower for that anniversary- Cosmos…. I love Cosmos and more ideas were flowing. I should have stopped at that, but I pulled up a dictionary which had the definition and tons of extra information, too… I did some playing with the definition and other words from the dictionary in a word cloud program. The program put the words in different sizes and colors in random order and I did a print out (also showing in the photo- upper left).
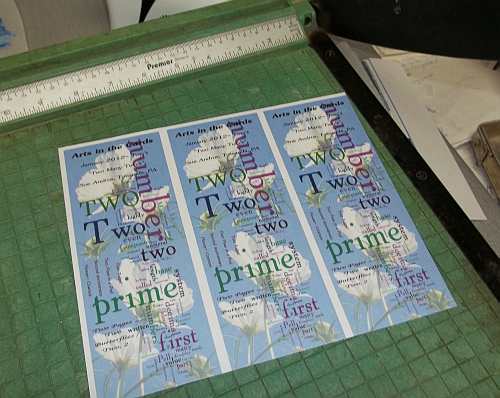
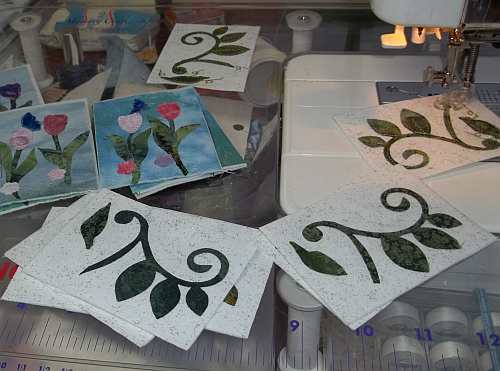
By the time I got done with playing on the computer, I realized I had too many ideas to put into one little art card, so I decided that I’d add another two… Two cards. The photo above shows the text I ended up with along with more that I added, printed over photos of Two white Cosmos flowers. I decided that the two cards would be connected in a hinge fashion with one long piece of the printed card stock. The photo above shows 3 of the inside pieces printed and in the process of being cut to size.
Once the insides were cut from the card stock, the center creases were made. I also ended up fusing some little “scraps” of the vines that also looked like 2’s in the inside.
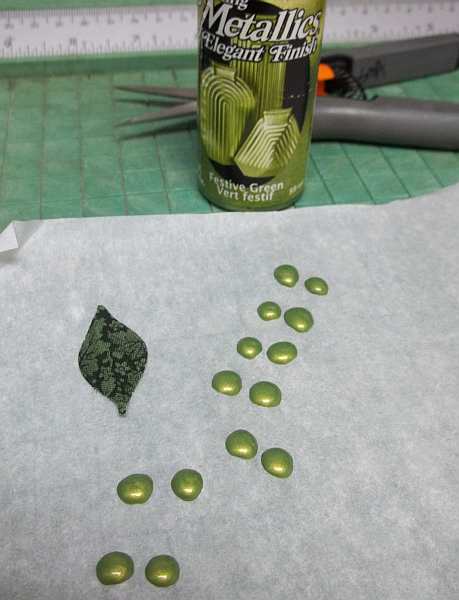
When I first thought of doing “two peas in a pod”, I needed to figure out how to make the peas…. I squeezed out drops of a metallic pea green paint on parchment paper and allowed them to dry over night.
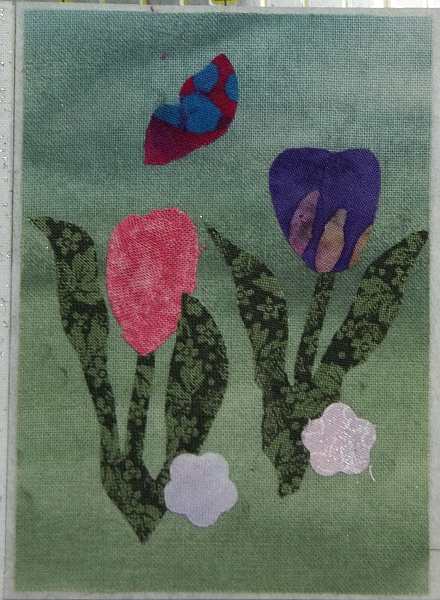
Above shows one of the little Tulip sides that I decided to make as tiny “quilts” using a thin interfacing as a “batting” so that I could do the stitching.
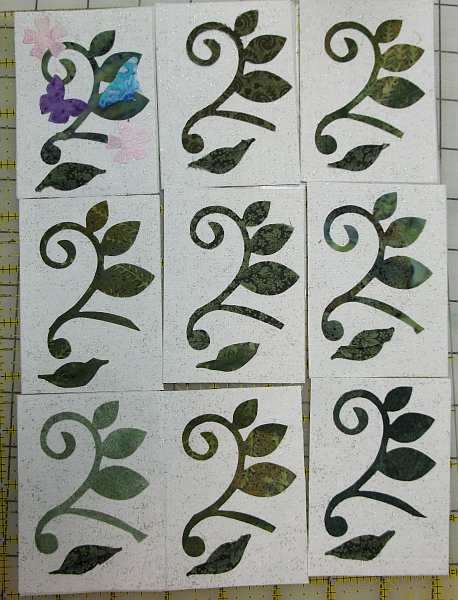
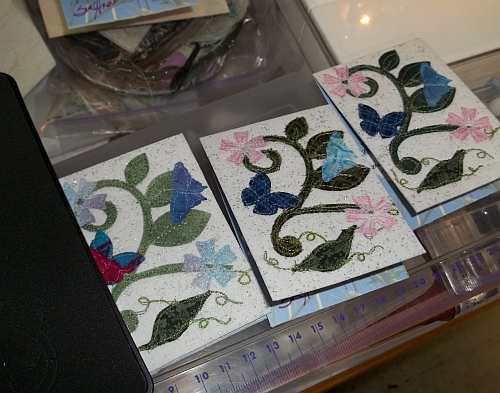
In the photo above, the die cut vines with leaves 2’s and single leaves fused and “smushed” to make little pea pods. The background fabric for these is a white with silver glitter that was then fused to a thin fusible interfacing. The one upper right is the first I played with, placing the flowers and butterflies… I decided it would be much easier to stitch the vines first, then add the flowers and butterflies after that.
I used a green variegated thread to stitch around the edges of the vines and leaves, and added little curly tendrils to the pea pod.
After the green stitching was done, I switched to clear thread around the tulips, butterflies and flowers. The little quilts were now ready to fuse onto the inside that would connect the two little “quilts”.
This photo above, shows the stitched “2” sides after they have been fused to the other side of the inside printed card stock. Once both little quilts were fused to the outside of the inside, the pieces were folded and cooled under a weight to keep them flat. When fabric is fused to card stock, things tend to want to curl, so the weight flattens things while they are hot, then when cool they will stay fairly flat.
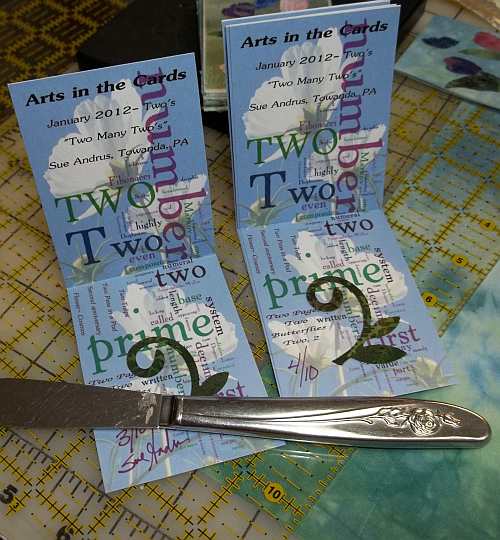
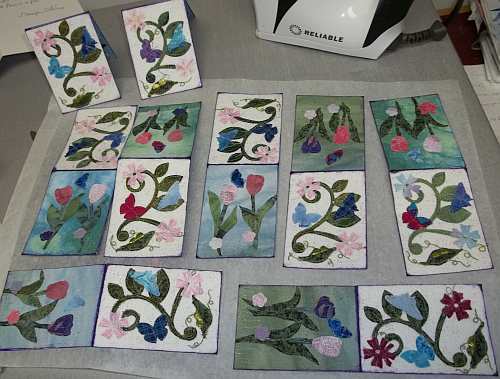
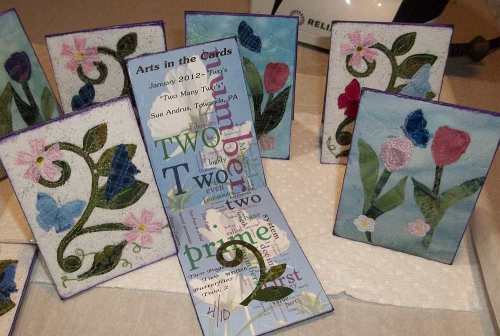
This photo shows most of the cards after they had cooled. To finish the edges, I dabbed them with a stamp pad with purple ink. You can see Two of the cards standing up like little sign boards. I did find I had a problem with the ink. After I put it on, it seemed to want to rub off, so I ended up brushing on some gel medium to seal it.
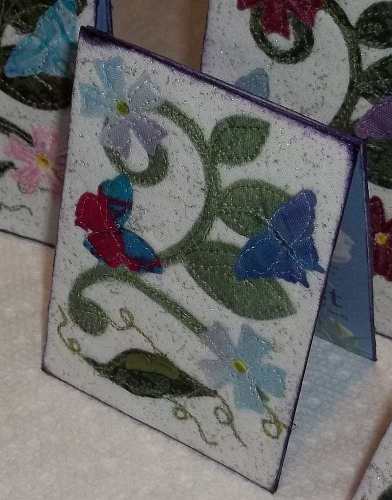
Here is one of the Cosmos, 2, Butterflies and Peas sides… you can see a bit of the inside printed card stock. If you look really close, you can even see the two little peas made from the paint tucked into a fold in the pod.
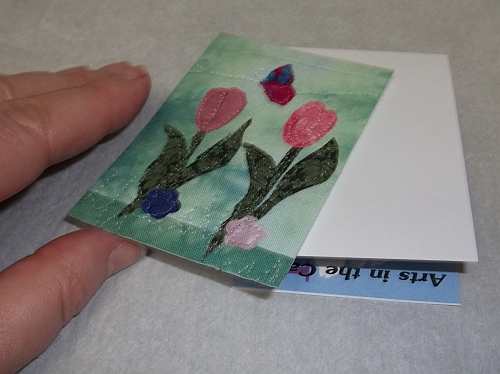
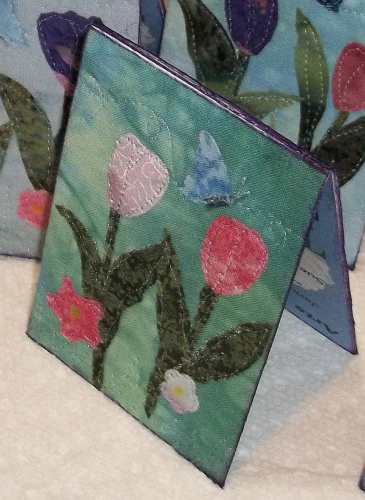
This photo shows the Tulip side of one of the cards…
This photo shows a group of the finished cards, with some showing the Tulip side, and some showing the Two Peas and more side, along with one open to show the inside of a finished card. “Two May Two’s” were then packaged in archival art card sleeves and sent to their new owners. I really never thought I would end up with so many ideas for what one would think was a simple theme…. If you would like to see what other members created for this round as well as others (if you want to do a bit more scrolling) see the Arts in the Cards Blog where each of us have posted our creations.
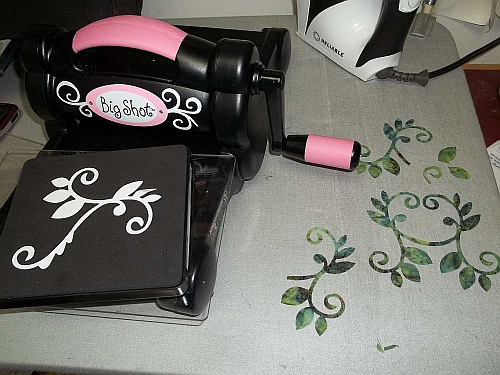
This is the new tool I have been playing with that led to many of my ideas. It was one of the vine cuts shown in the photo above with the machine. The die shown is the first one I got with the machine. I also got a couple others, but this was the one that I have played with the most. I wanted to see just how many different designs I could make using just one die. The die cutting machine is designed for scrapbooking and paper arts to cut paper and other similar art materials. I had seen a video online showing one being used for cutting fabric, and that got the wheels turning. I do a lot of fusible applique and have been doing more with tiny pieces and even with my straight handled scissors, cutting is hard on my hands and takes a lot of time.
This photo above shows two full motifs that were cut with the die. I cut two pieces of Wonder Under backed fabric right sides together using the whole design on the die. Most of the designs I have come up with have just used parts of the motif with fabric folded in different ways.
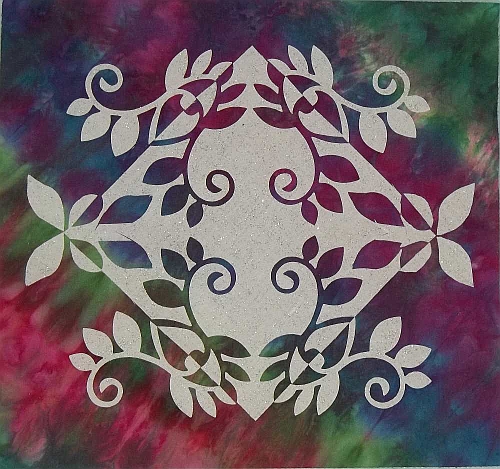
This is a photo of one of the first pieces I played with. I took a 6″ square of white fabric, folded into quarters on the diagonal, run through the machine just using part of the die design. I pulled the vine pieces out of the square and fused them on the outside of it, giving me what you see here.
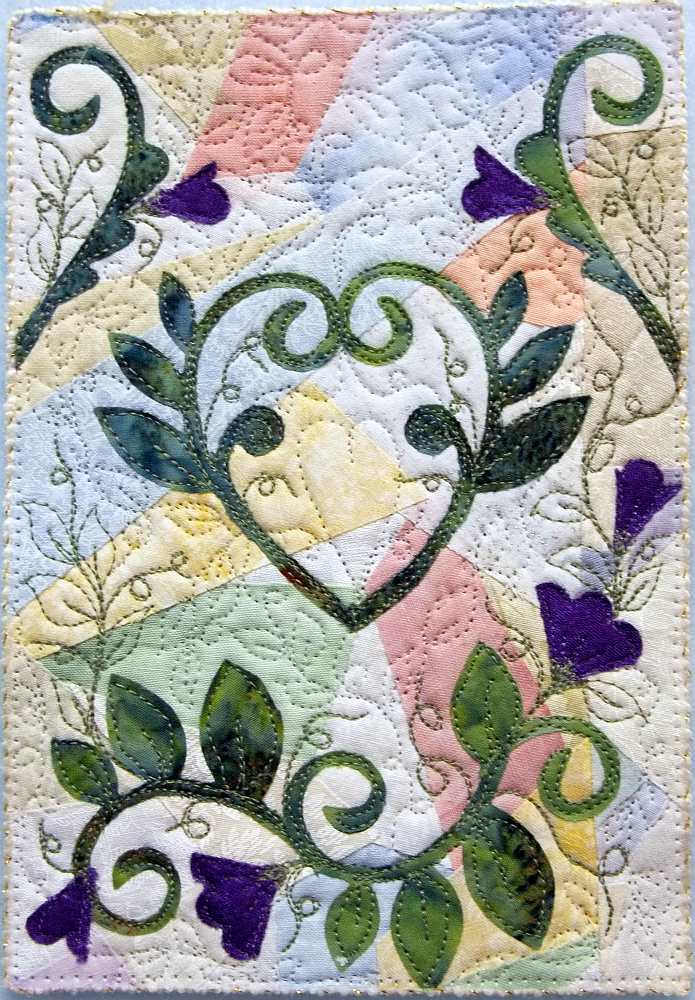
This little piece above is one of the little experiments I began with and finished. This is 5″x7.5″ in size, and I arranged the vines to make the heart shape and swirl below. I began quilting with green thread on the vines and added little tendrils, then I added more quilting with the clear thread to fill things in. This ended up going to a new home after I showed it at my local quilt guild’s show and tell…. My first sale of the year!
I now have some more dies to play and see what new things I can come up with. So far this little tool has been helping me to get the old creative juices flowing again. If you are interested, I have been adding photos to a Die Cutting Album on my Facebook profile page. I have two more little pieces finished using die cut fabric and have photos there. I plan to get any new pieces listed in my ArtFire Art Quilt Shop also. If all goes well, I hope to add new posts more often this year.





These are beautiful. You always do such lovely work. I stalk your shop on a regular basis. lol One of these days when I actually have some money you are going to get some of it. 🙂 I would love to have some of your artwork on my wall.