It’s been a VERY LONG time since I last posted in this blog… Doing battle with Late Stage Lyme disease and 2 co-infections left me with no energy or brain to be able to even think about writing… After just over 2 years of treatment, I am finally feeling more human again… I still have a lot of healing to do, but am finally am finding enough energy to get back to some quilting and digging in the gardens again… I have been doing just the minimum for so many years, and there is a lot to catch up on.
Overgrown Clumps of Hosta Golden Tiara
The past few days, I have been digging clumps of Hosta out of the gardens to be divided to use in other gardens or potted for sale. I used to divide many of my Hosta clumps every couple years, and there are some really crowded clumps out there. The above photo shows some very vigorous clumps of Golden Tiara that have lived in the “flood zone” in the back yard… They show how hardy Hosta can be… they have been buried in silt and gravel many times over the years and just keep on growing.
Dividing Hosta is an easy way to increase your numbers of plants. One or two plants can turn into a drift of plants in just a few years with some of the more vigorous varieties. Dividing will also renew old, neglected clumps or can keep clumps “in line” if they are getting bigger than you want.
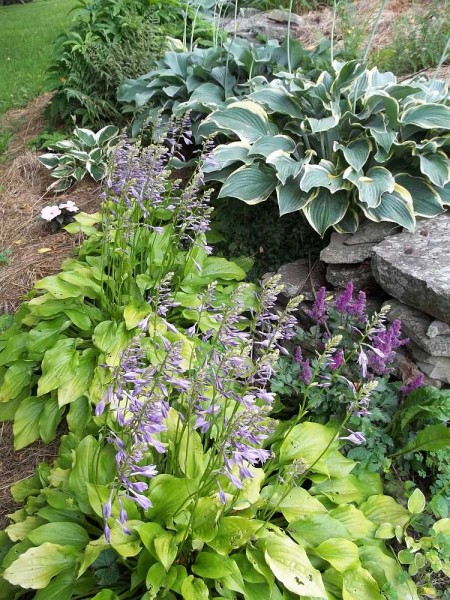
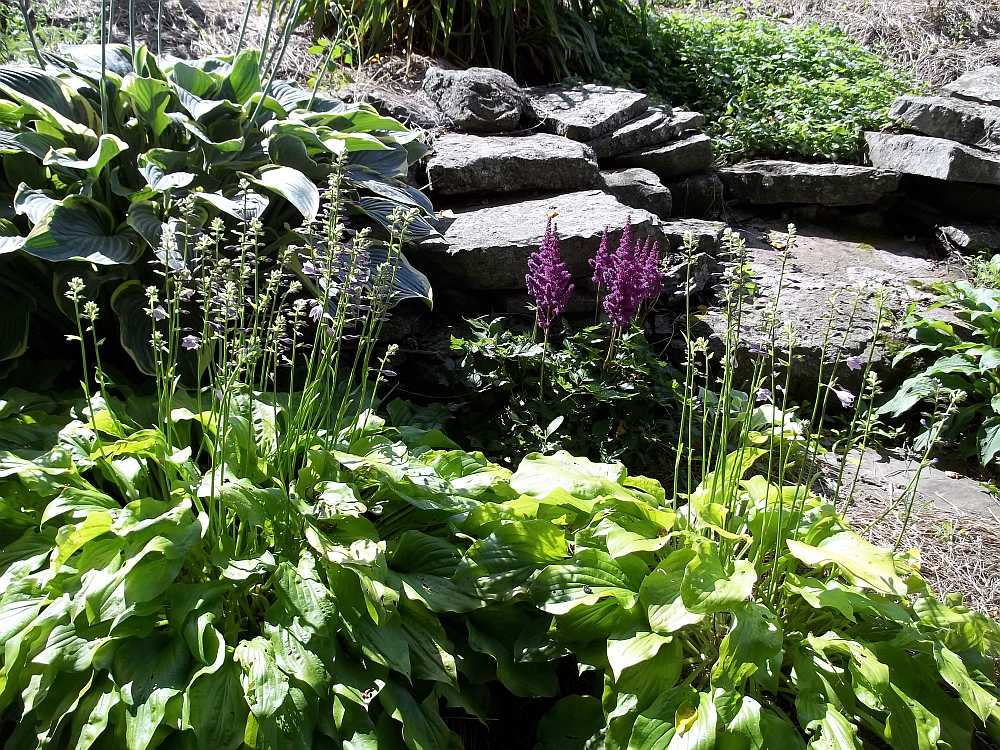
Hosta Sweet Tater Pie with Astilbe
This variety is one of my fastest multiplying varieties, and the one I have divided the most. I began with one clump eight years ago, and now have a nice group of three in the Stone Wall Garden (two show in the photo above), a ring of them around a tree, and have given away a number of them. I have taken out bits of these clumps nearly every year without them even looking like anything was removed. I love the cheerful chartreuse green color of the leaves that add bright spots to any shaded area.
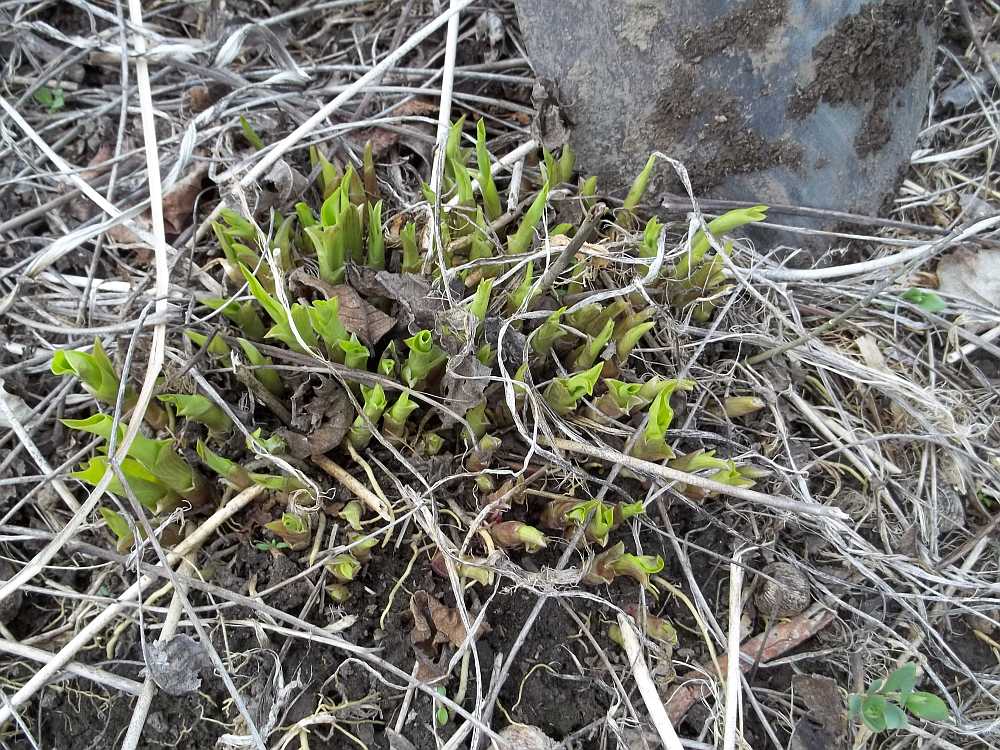
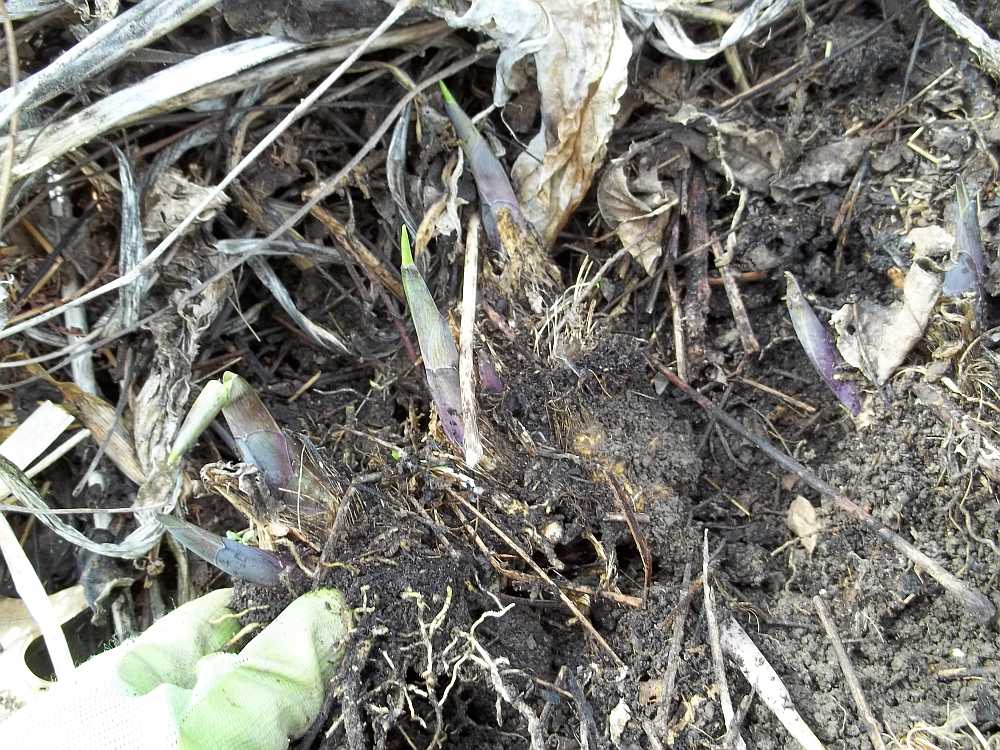
Sweet Tater Pie Clump
The above photo shows what one of the clumps looked like after I pulled the mulch off it. This is the stage of growth that I like to divide Hosta, the shoots are big enough to see, and the roots have not begun to take off for the growing season (making digging easier). They can be divided or moved when the leaves have emerged, but the leaves will wilt and the plants will need more care. As you can see, there are lots of shoots packed quite tightly in this clump. Step one is to decide how much of the clump you want to remove.
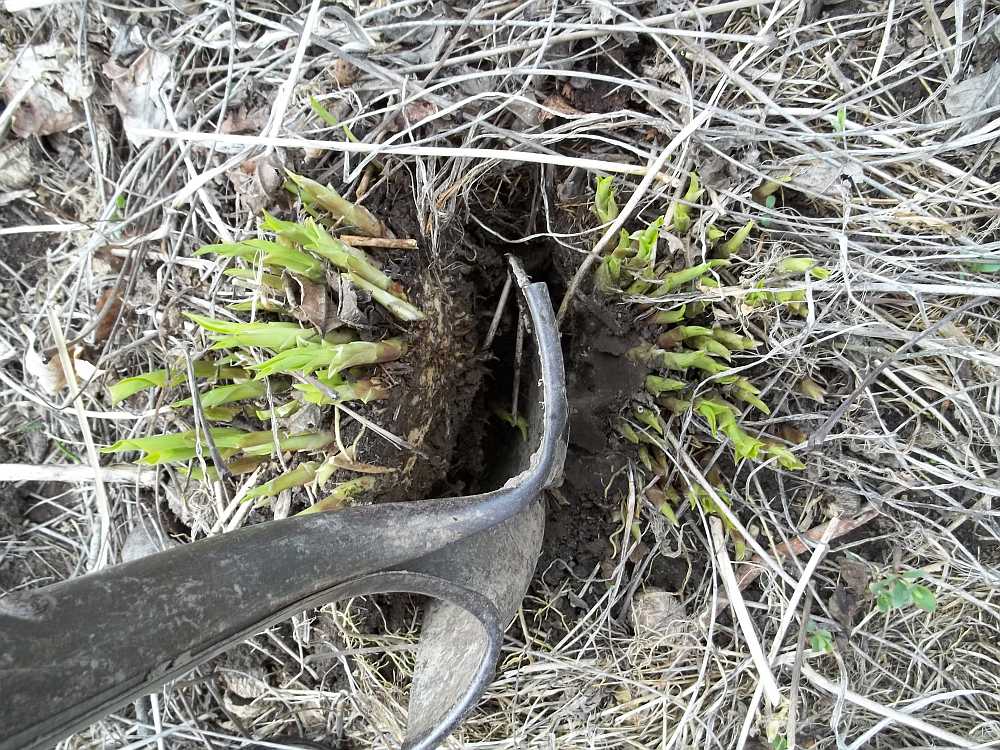
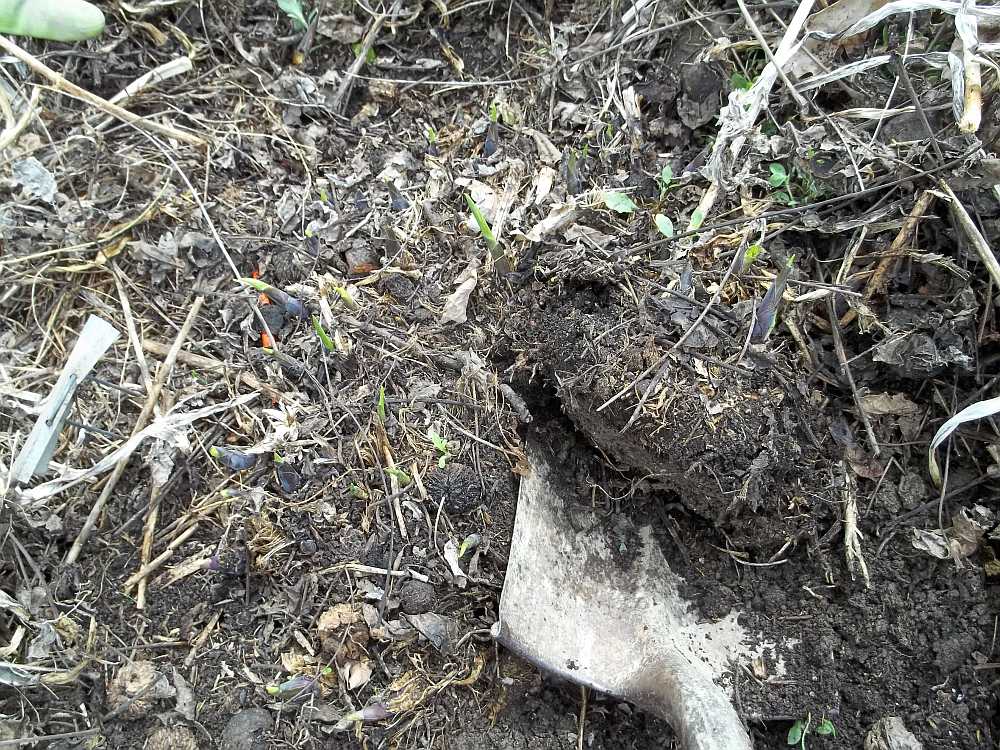
Sweet Tater Pie with Shovel
This is where some people will get squeamish… It looks harsh, but these plants are VERY tough and you will not kill them. Place your shovel across the middle of the clump, or just one section if not taking out half of the plant, and step on it to cut straight down through the roots. Depending on the variety, it may take a bit of stomping or jumping on the shovel to get it to go through the roots (this one is an easy one). Try to ignore the “crunching” sounds… Once your shovel is through the crown and roots, rock it a time or two to split the clump as shown in the photo above. The goal for this example is to leave one half in the ground, disturbed as little as possible. No one will know that anything was removed once the leaves fill out.
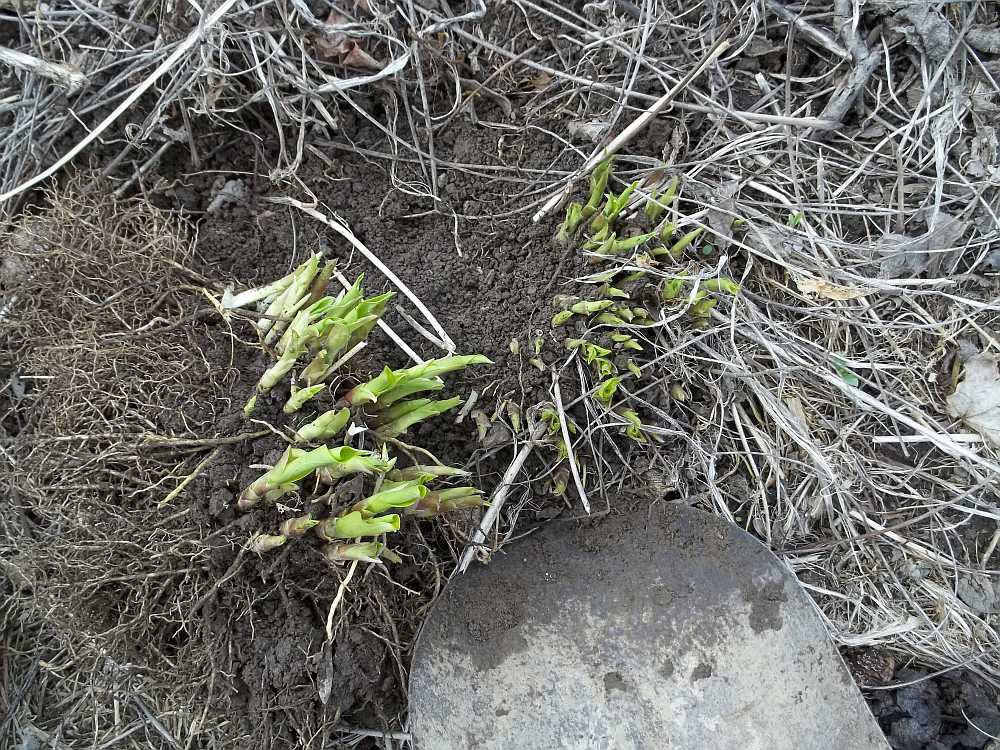
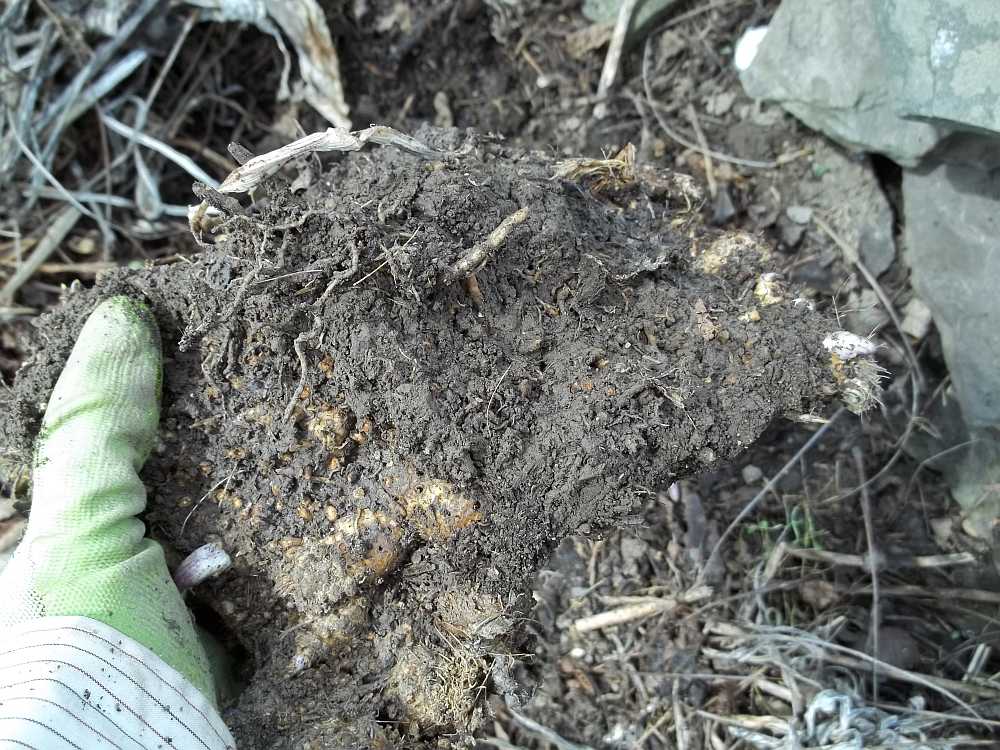
Sweet Tater Pie Lifted Out
Once you have the dividing line made, dig around the edges of the part of the clump you want to remove. Get your shovel under the roots and pry the chunk out. The other half should remain in place with very little root damage. Once the chunk is out, knock off excess soil from the roots, as shown in the photo above. Replace that soil against the part left in the garden, firm it and replace mulch. Give the piece that is left a good watering. It will grow as if nothing has happened. The chunk you removed is now ready to be split into more pieces to be planted into other areas.
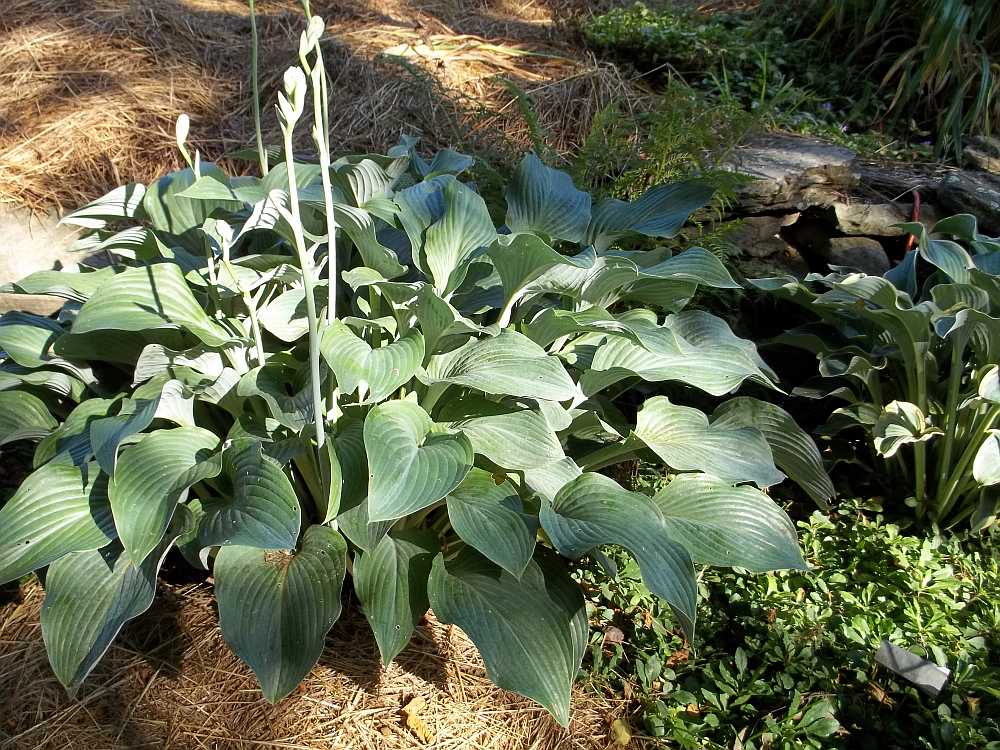
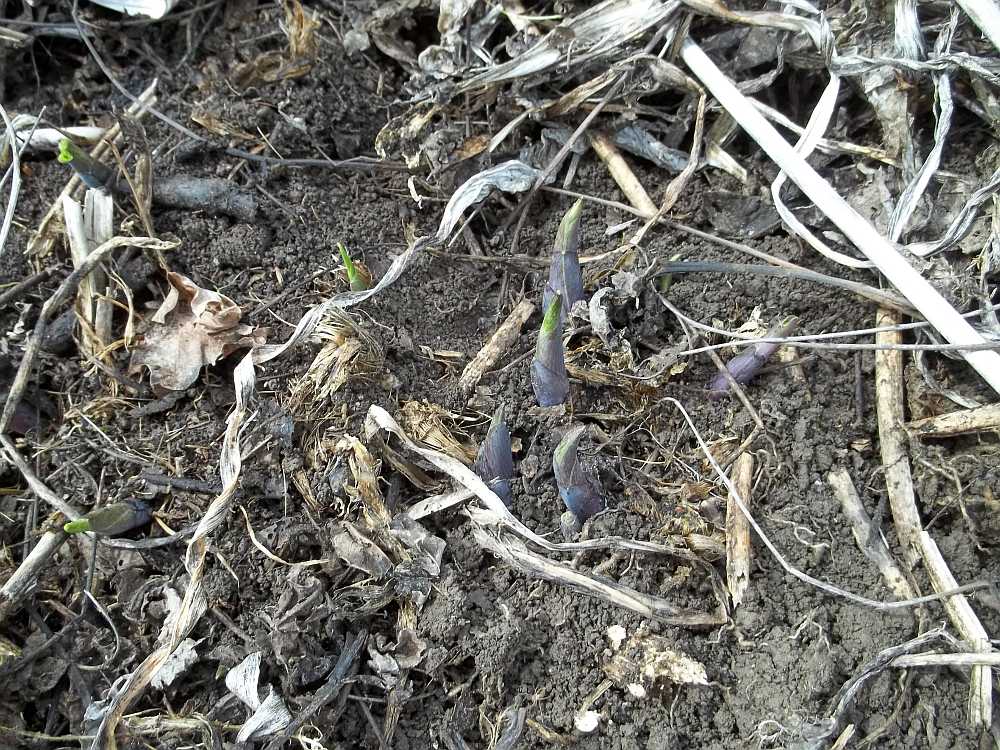
Krossa Regal Budded
Here is another variety that looks totally different from the first one shown. This is a large, bluish leaved variety I have growing near the previous variety. This one multiplies quite a bit slower than the previous variety. It has less shoots, but makes a larger plant due to the height and size of the leaves. The above photo was taken in 2012… it is a lot bigger now.
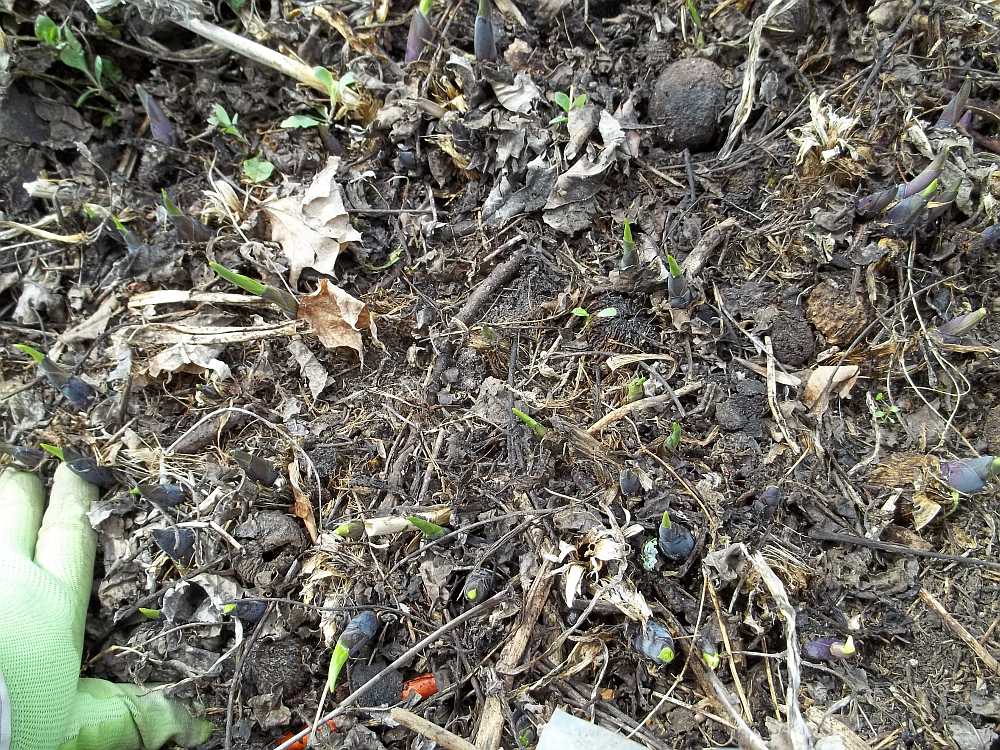
Krossa Regal Needs Dividing
I have not taken anything out of this clump for a number of years. You can barely see the shoots filling the whole photo above. Krossa Regal and related varieties also have less tightly packed shoots.
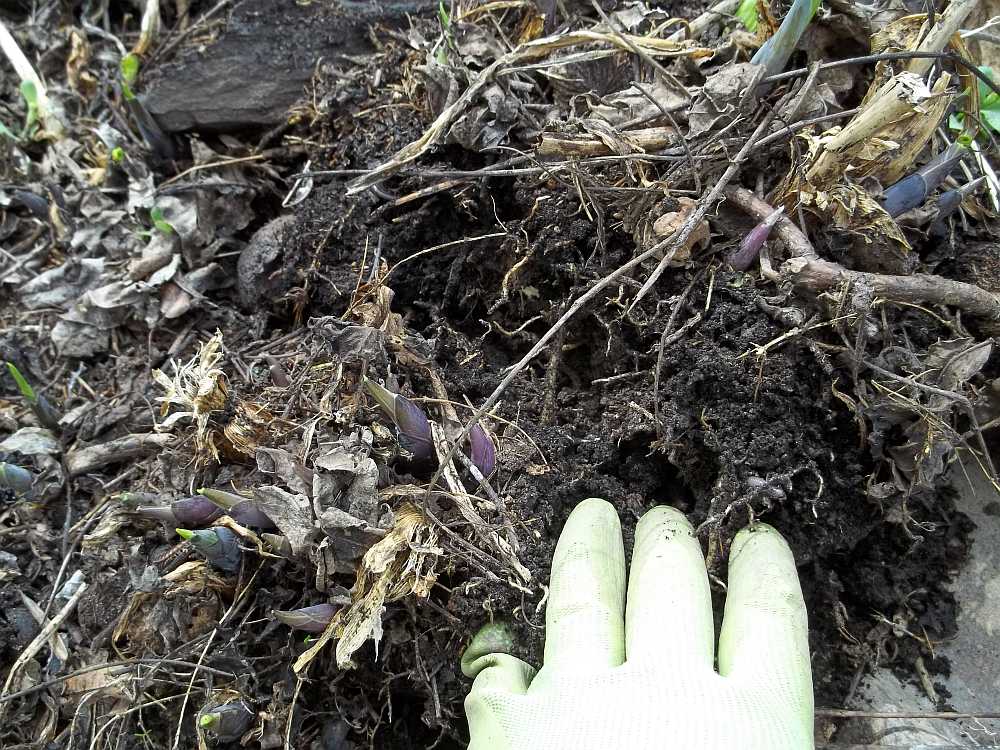
Digging out Krossa
The photo above shows part of this clump being popped up out on the end of the shovel. With less tight plants, I often dig from the edges instead of chopping through the middle. The roots don’t make as solid a mass which makes digging easier.
More Krossa Digging
Another chunk coming out… This plant was next to the stone wall, so I dug out what was closest to the wall.
Regal Splendor Dug by Hand
Very rarely, parts of a plant can be pulled out by hand… This is from Regal Splendor, a cousin of Krossa Regal. This clump lives in a corner with stone wall on two sides of it. This garden is shaded by Black Walnut trees (yes, Hosta grow well under Walnuts), and gets lots of nuts planted into it by the squirrels. Other critters hang out in the stone wall too, so the soil was very loose around this plant.
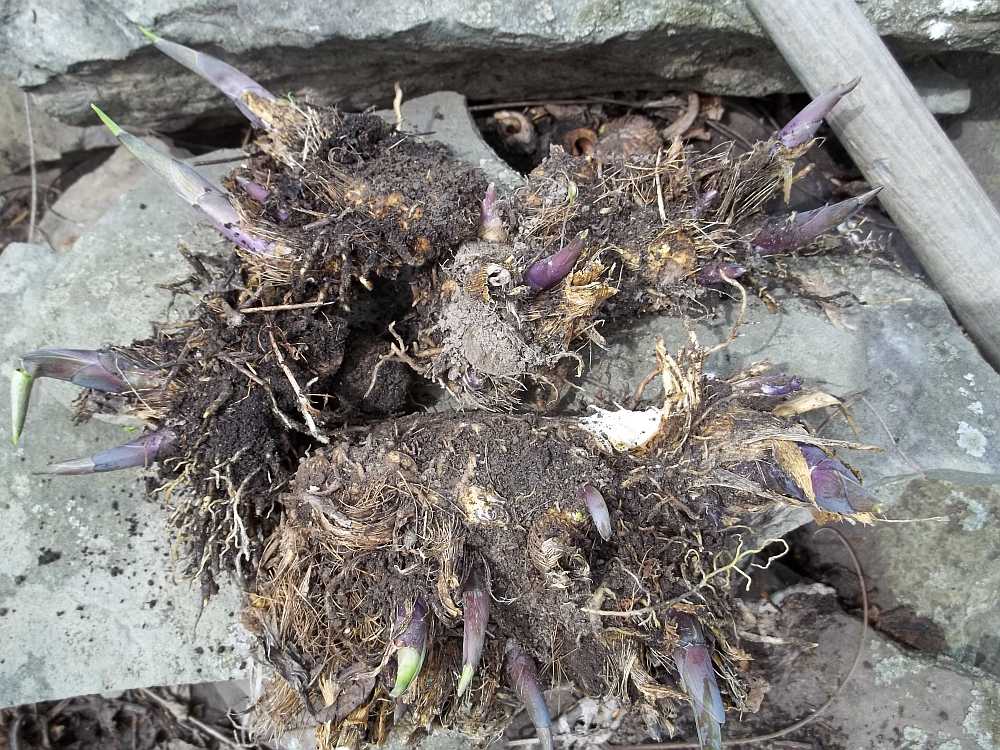
Damaged Regal Splendor
This is one plant that I ended up digging out the whole thing, after finding much root damage (one reason things popped out so easily). It looks like bugs or other critters have been munching on the roots.
Regal Splendor Fixed
Here is what should be a much happier plant. I loosened up the soil on the roots that were left, dug and loosened the soil in the garden, and replanted a good sized chunk.
Chunks of Regal Splendor
These are the chunks of this variety that I kept out to plant elsewhere… Even with not too many roots, these should do quite well in their new homes since they have time to get new roots growing before the weather gets very warm and the leaves get very large…
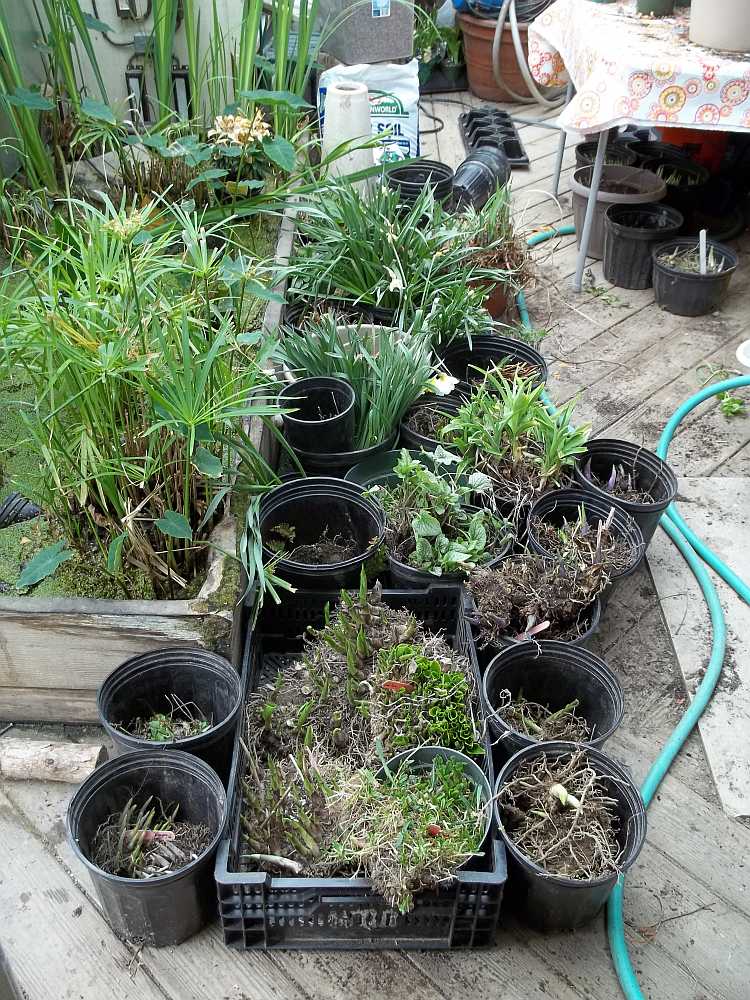
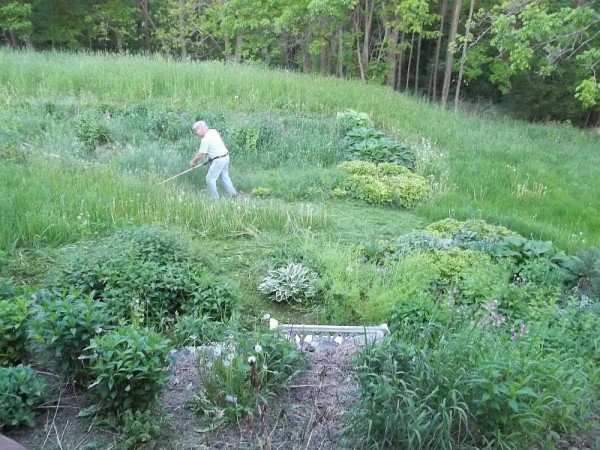
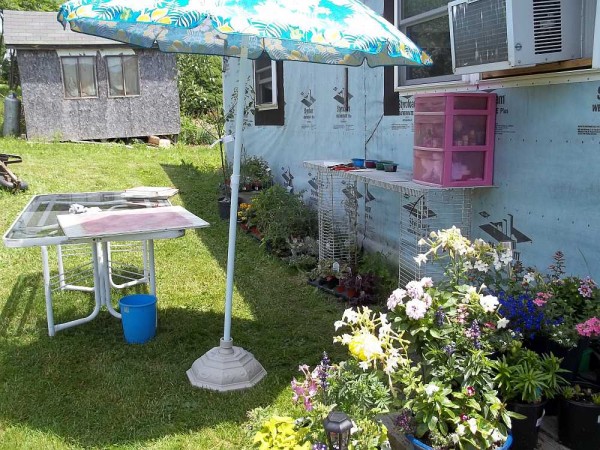
Dug Clumps Waiting for Dividing and Replanting
As you can see in the photo above, I have been digging more than just Hosta. The dug clumps are placed into pots, labeled and put into our little greenhouse that is quite shaded. The next step will be to further divide the chunks into smaller clumps to pot up or plant into another garden. That will be shown in Part 2… Let’s hope it isn’t over 2 years again before my next post… 😉