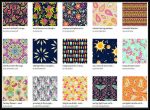
Here are links to all of the sub-collections included in the Collectively Independent Spring 2022 Designs collection on Spoonflower

Here are links to all of the sub-collections included in the Collectively Independent Spring 2022 Designs collection on Spoonflower
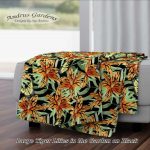
Two posts in a month!! Wow! Maybe this will be a successful restart…. This week, I entered my first Spoonflower challenge of the year. The theme is “Year of the Tiger”. At first, I thought I would skip another challenge,…
First post of the new year, now that January is over half gone… My how time flies! Last year, I managed to post a whole three times… maybe I’ll get better in 2022. I am getting a better start for…


